

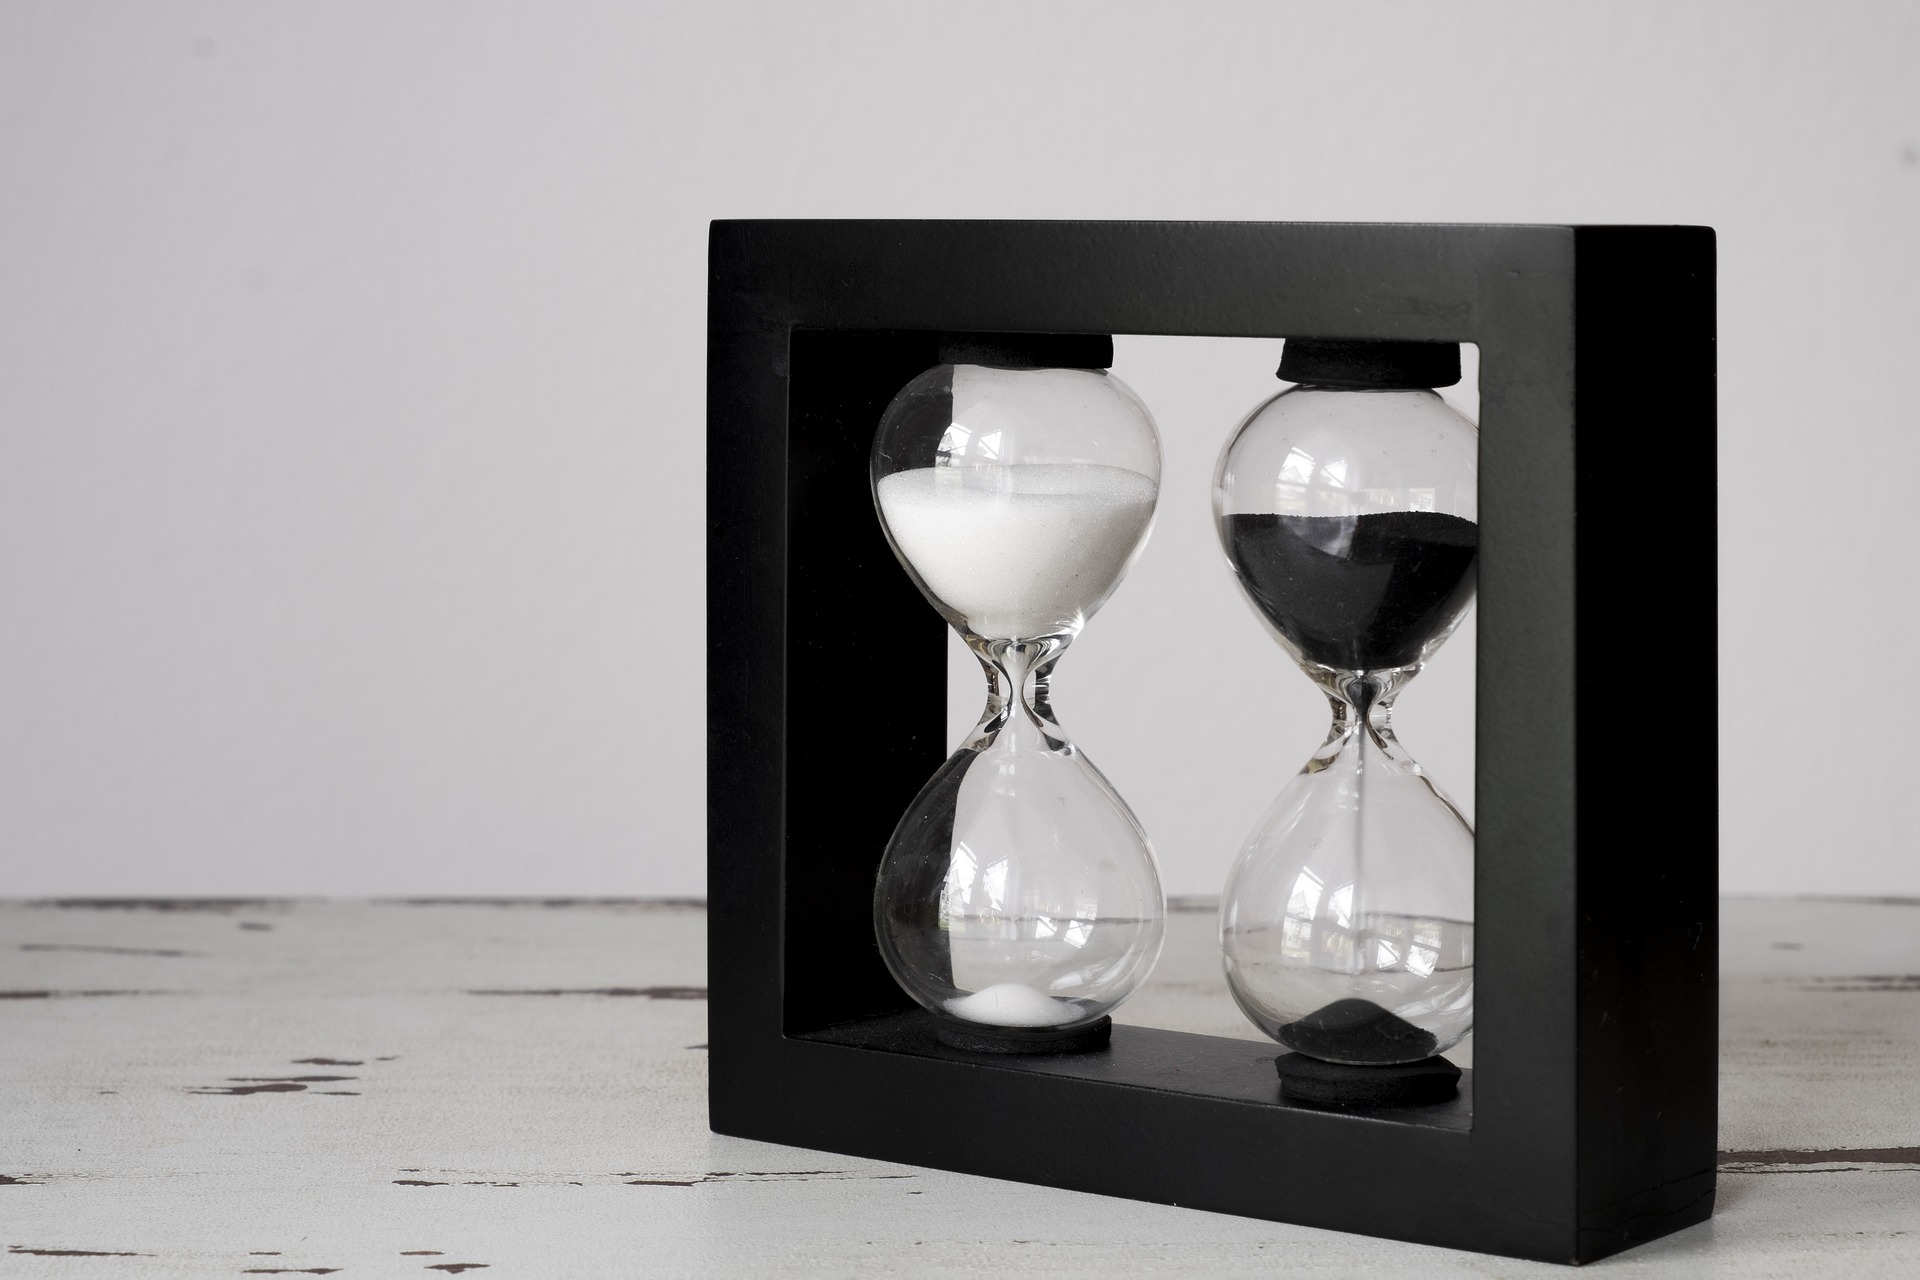
How to Make Hourglass by Christmas balls Ornaments
Tools:
- With lids 4 transparent glass of Christmas balls Ornaments
- Unfinished wood frame craft and too wide
- Colored Sand any color you prefer
- A piece of transparent plastic which can cut by using scissors
- Super transparent glue
- Small plastic funnel
- Scissors
- Wooden painting (any color you prefer)
- Marker pen
Method:
- Paint a wood frame with any color you like and let it to dry.
- Remove the four lids from the transparent glass of Christmas balls Ornaments.
- Bring a piece of transparent plastic and draw two circles that has the same size as the lid that removed from the transparent glass of Christmas balls.
- Use the scissors to cut two drawn circles, then draw in each one of them a small circle, use the scissors again to cut the small circles (we’re going to use them as new lids for the two balls)
- Use a small plastic funnel to fill 2 Christmas balls with colored sand.
- Start to put the plastic circles that you drew on Christmas balls to look like the new lid.
- Glue the plastic circles that you drew on the two of Christmas balls to look like the lid for each one of them.
- Bring one empty Christmas ball and another one full of sand then glue them together to look like hourglass.
- Repeat the process with the rest of Christmas balls to look like the second hourglass.
- Glue both of hourglasses and put them into a wood frame.


