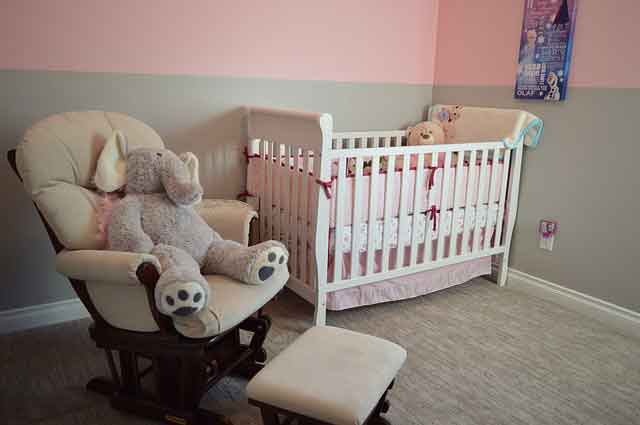
DIY Baby Bed
I and Martha had our first child three years ago and it was the happiest time in our life although it was wild and I think that having a child is the biggest adventure you can have. I wanted to hand make the first bed for my little man and I recorded my steps and if you want to DIY small bed you won’t find better detailed guide
The best advantage of making baby bed by yourself is that you make the design. I studied many designs to choose from and I got inspired by an expensive Scandinavian baby bed, I liked it was protective and the pole-based rail looked like wall instead of looking like a fence.
DIY Baby Crib
Tools:
· Loads of sandpaper (120, 180, 240)
· Wood glue
· 8x insert nuts and matching screws
· Child-safe oil for finishing
· 60mm hole saw
· Japanese saw
· Power / column drill
Making a Baby Bed By Yourself
Step 1: Decide The Size of The Bed
Height: The higher the walls of the bed the more safe it is for the child especially for a child who can stand up
And the regular height is about 60 cm between the mattress and the top end of the bed. When you measure you should take into consideration the mattress and the top.
Footprint: You can choose between 120X60 cm or 140X70 cm, of course the bigger bed will fit the baby for longer than the small one.

Step 2: Choose The Material Beforehand
You can choose the material you like; but bear in mind that the thickness should exceed 19mm, in order for you to be able to put the screws in it
Sides:
- Should be made from slatted frame to allow air to flow
- You should choose a thick board to make sure it will not bend (to protect the child)
Finish: Here you will need to get organic wood oil and make sure it’s child-safe and saliva-safe
List of Materials I Used
- 2 boards of 19mm (80x60cm)
- 2 sheets of plywood (15mm) measures; 140x70cm
- wood for the feet, 4 x 10x8cm
– Do you want material to build your own slatted frame! The good choice is using pinewood bars, not more than 10cm between them.
How to Make a Baby Crib By Yourself
Working Steps
The Head Boards:
After First I planned the edges then I attached a piece of wood as a rest to the slatted frame and then I glued the plywood boards together to thicken the ends.
Side Board Cutouts:
- First I attached a second layer of wood to the top end then I cut out the “windows” in the side board and this was a delicate process
- I began this process by marking where the holes should be and then cutting the holes using the hole saw
- I made about 11 cutouts on each side.
- The 11 cutouts on each side ended up with 44 holes. Remember to cut each hole on two times not in a one go because the hole saw could destroy the edges of the plywood
- After that I removed the space between each couple holes to make the bar shape in the side board, I used the Japanese saw for most of the time
Install The Bed:
- I put everything together using clamps and marked the overlaps. I choose to cut the overlap of the sideboard only, but you can cut the overlap of any part.
- I drilled holes for the screws and installed them using my drill
Finally The Finish:
- Make sure you sand every part of the wood bed so that the baby becomes safe
- Finish using only organic oil to make the baby safe, because you know the baby will taste his bed at sometime.
How to Make a Reborn Nursery With Reborn Life